What are the steps to create a circle in AutoCAD?
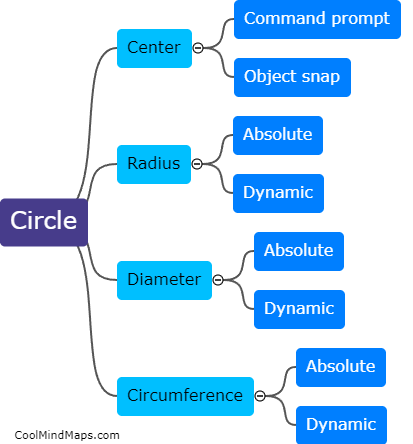
To create a circle in AutoCAD, start by opening the software and selecting the "Circle" tool from the Draw panel in the Home tab. Next, specify the center point of the circle by clicking on the desired location on the drawing area or by entering the coordinates manually. Then, specify the radius of the circle by either typing the value or clicking on a second point to set the distance. Additionally, you can choose to specify the diameter or circumference of the circle instead of the radius. After defining the dimensions, click or press enter to create the circle. You can further modify the circle's properties such as its color, thickness, or center point coordinates using the various editing tools available in AutoCAD.

This mind map was published on 15 August 2023 and has been viewed 85 times.
